Polymer clay egg: cutaway flower bed

This egg was created by reinforcing a blown chicken egg with some left over polymer clay, a fine sheet rolled out, then cut and molded around the whole egg. Pin hole placed in the end to let air escape during curing.

After curing the first time, two different flower canes were applied to the outside, and smoothed around the edges and sides with a brayer, then cured again. The flowers were added to the  inside by sculpting with “memory” polymer clay, which has flower petals ground into it… specifically to commemorate some special event. So many of these keepsakes are customized for individuals who wish to remember someone or something.  You can see other memory items made with polymer clay HERE.

polymer_clay_cutaway_egg

Polymer clay covered earthy colored egg

This was a fun egg, quick, and also used up some left over clay from a visit by my granddaughter, her mom and my son.  I just rolled this lump of different colors, and a left over slice of cane or two (you can see the one that looks like a fried egg…. ha ha) and used a brayer to smooth it out.  I DID forget to put a hole in the bottom of the egg, so that when the air expanded the egg had quite a few little volcanos that became part of the jungle effect.  One thing I did surmise, since failing to put a hole in the eggshell and uncured polymer clay covering pops out a bulge just where the egg was blown, this didn’t happen in this case.  I attributed it to the fact that these eggs were very inexpensive, extra large, and I had noticed how fragile the shell was, and thought that perhaps these had been weak shells to begin with allowing for air to escape from places other than where the egg was blown.  Just in retrospect I won’t probably buy that kind of egg again for eating, since if air can escape, then there is the possibility for contamination to get in as well.  But all in all, I did like the serendipitous results.

volcano_egg

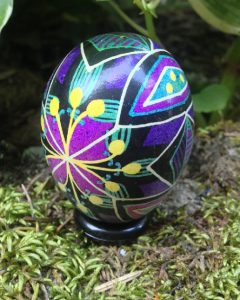
Pysanka egg from decades ago

This is probably an egg I did at the beginning of “egg season” which for me starts around the first of January every year (haha).  The first ones of each season are kind of -hurry and see- eggs, because I am always wondering whether this is a technique that I can revive each new spring season.

pysanky_egg_12

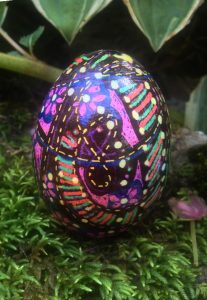
Eggshell egg mosaic covered with translucent polymer clay

This was an experiment in how to make a smooth finish on an eggshell egg mosaic, which really wasn’t all that successful.  I made the mosaic egg, per usual, from pieces of egg shells dyed with pysanky dyes and white glue as the adhesive.  This was a brown egg to start – you can see it in the picture. After it dried I painted the surface with liquid polymer clay (Sculpey brand –which might have been not the best, in retrospect, but a higher end liquid polymer clay could have worked). After curing, I tried to sand the surface smooth but the liquid polymer clay did not create a strong enough coat to allow sanding. I put two coats of Varathane on, which seemed to work better.  It is possible that a very thinly rolled covering of regular translucent polymer clay could have worked better.  I will try it.  I posted this in the #2016PCChallenge along with many other egg pictures.

week_34_eggshell_egg


Pysanka egg given to my grandson Elliot

This pysanka egg was made a few years ago, but was returned to me via my son. I think sometimes I am grieved by the disruption of families by strife and misunderstanding and lack of forgiveness.  I wonder if my grandson will understand these things. Here is an egg I made for him. It has kind of a video game track look to it.. ha ha.

pysanky_egg_11

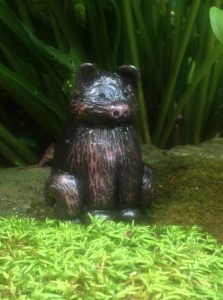
Little egg bear made with polymer clay

Egg for the body (emptied, then covered with a very thin layer of polymer clay) and head made with a large wooden bead (covered with a very thin layer of polymer clay, scored at the equator before baking for easy separation and removal of the bead), and then cured.  pieces are put together wit

week_33_bear_egg

h polymer clay, and legs and nose and ears are added, and eyes drilled, and cured again.  A good sanding, and carving with a tool for linoleum carving was used, but any carving tool that suits you is fine.

Bear was covered with dark acrylic paint, and rubbed to lighten, and different shades of brown acrylic paint were used to give the carved places a feeling of depth.  Not a perfect bear, but I will keep him.

week_33_bear_egg_1