Custom decorated easter egg with the name Hayden. This is for my niece but I can make an egg decorated like this for you custom. Just ask, and order below, or at this website Memory-beads.com
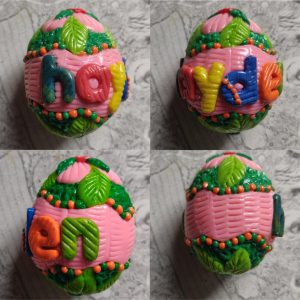
Custom decorated easter egg with the name Hayden. This is for my niece but I can make an egg decorated like this for you custom. Just ask, and order below, or at this website Memory-beads.com

I found this great site for buying eggs that are unusual sizes and shapes and colors. It is called The Eggers Nest. This goose egg was purchased from them. I put the black layer of polymer clay and the purple border on then cured the clay and added the flowers, cured it again, and then punched out the edges of the egg. At that point i made the flowers for the outside of the black strip and cured again. The inside was designed to look like grey-green-white marble. Buy this on Memory-beads.com
I added a red row for tiny bubbles in the top picture.

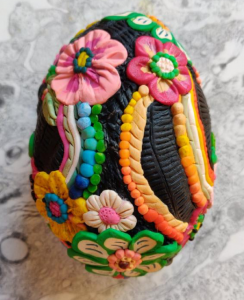
The base of this decorated egg was made by creating a fabric-mache covering for a leg’s egg (yep, i still have some of those old things). I did this by using stretchy fabric and wood glue in much the same way as one would use paper and glue to make a paper mache shape. I cut with a blade the finished covered egg down the “half” line (circumferentially where the leg’s egg has its opening) and opened the egg and removed the plastic. I cant remember whether i covered that plastic egg first with a thin wrap of plastic wrap. I would only have done that to make removing the leg’s egg more easily as i wasn’t interested in putting the leg’s egg in the oven to melt when i cured my polymer clay.
After removing the leg’s egg i wrapped the mache egg with more fabric and wood glue to seal the two halves back together and to strengthen it.
After it dried i did poke a small hole in the bottom so the air would escape during curing of plastic, then just began to add flowers. The height of the egg is just over 4.5 inches.
Some sculpted flowers on the egg are “memorial flowers” in that the polymer clay contains flower petals from a funeral arrangement – a nice way to keep the thoughts of those loved and gone around. I can customize this type of decorated egg with your wedding or funeral or birthday or anniversary flowers if you contact me through the Memory-beads website.
The “track-like” texture on the black restful places is made with the lid of a peanut butter jar, rolling the side of it over the clay. All other decorations made with polymer clay are pretty routine, nothing fancy, just entertainment for me. You can purchase this egg HERE, or from the woo commerce widget on the side of the page. I know 60$ seems like a lot of money but it took me many more than six hours, and shipping (which i include) would otherwise be $10.
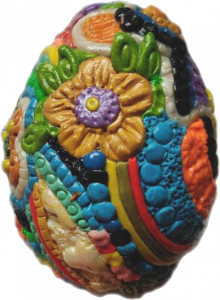
Chicken egg and cockatiel egg together were overlaid with polymer clay, and then i created flowers for this S’milestone. I came on that name after i mistyped the word milestone in a text and thought it was the cutest thing ever. I set out to make someone smile with this “stone – like” egg combo sculpture, that has absolutely NO value except to bring a smile to one’s face. However, to be fair, some of these colors of polymer clay have the flower petals from a funeral in them…. so the smile can be a reminder of life’s milestones that are hard to accept sometimes. Others like this available from my Memory-bead website
 |
 |
 |
 |
 |
Just made this bunny (one egg and one wooden bead for the basics), white and translucent polymer clay requiring several curings. Little orange bow, and a separate decorated easter egg.
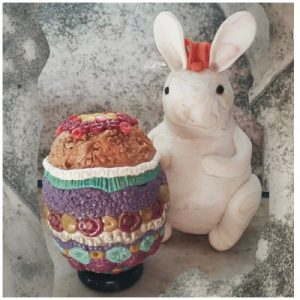
One made custom for you similar (not exact obviously) with your flower petals or other keepsake item can be purchased at memory-beads.
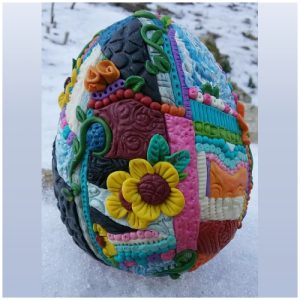
Decorating eggs is a big thing for me, ever since i was old enough to hold a pen or paintbrush. 77 years later, the minute christmas is over i move on to eggs.
This particular decorated egg can be made custom with your flower petals, or pet fur, bird feathers, pine cones, glitter, confetti, paper announcements, just about whatever you can think of can be embedded in the flowers and dimensional patterns in a keepsake memorial egg like this. You just contact me with your wishes and I will try to invent the solution.
This egg is over 4 inches tall, close to 5, and is made on a core egg that is hollow.
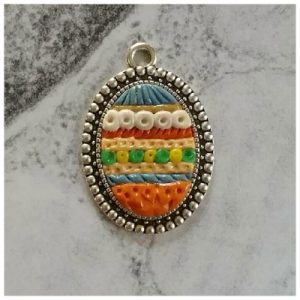
Easter egg charm pendant made custom with your flower petals as a commemorative item. These are about 1 inch in height (maybe a little more) and can be converted to refrigerator magnets if you wish. Go to the products section here, or go to Memory-beads.com
Just using this social distancing time to make easter eggs but this year they are not decorated with bunnies and chicks but with a model of the SARS Cov 19 virus which has changed our world.
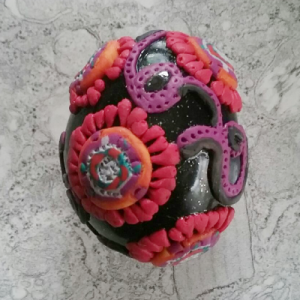
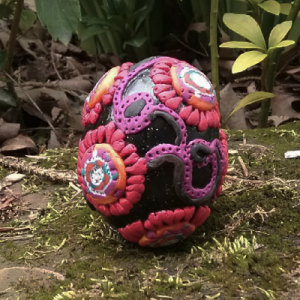
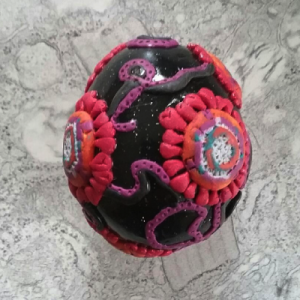
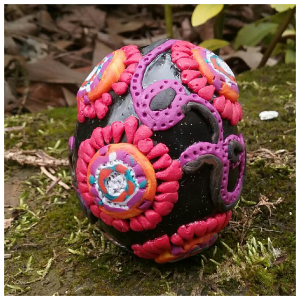
This is a giant polymer clay egg which i am documenting as I go, as a process which needs to be refined (LOL) and may not be a realistic expectation for any sculpture with polymer clay.
It is clear that polymer clay is both heavy and expensive, and that armature is a good idea, and also that when it is cured it can bend, bulge, shrink and otherwise distort so there needs to be some kind of support for large structures.
I have tried to second guess this medium, having seen first hand that there are some areas where it is easy to “fail” but maybe not enough.