Paper egg and polymer clay

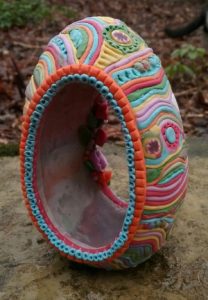
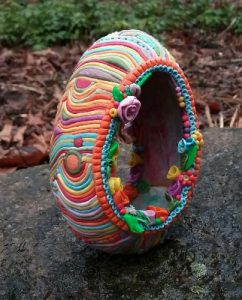
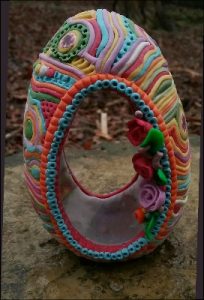
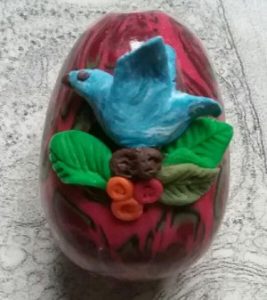
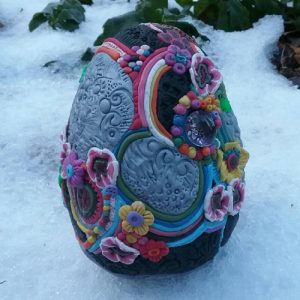
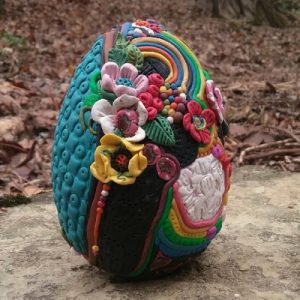
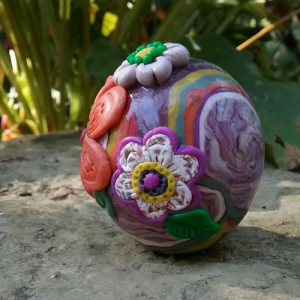
In a previous post I showed a paper egg (from Michaels) which I had covered in polymer clay just as an experiment and found a disturbing result, that is, that the polymer clay shrank over the paper egg and split. So I reasoned that the egg (which was quite large, maybe 4-5 inches in height and 3.5 or 4 in diameter) was part of the problem and so when i found a smaller egg (about 4 inches in height and 3 inches in diameter that it might work.

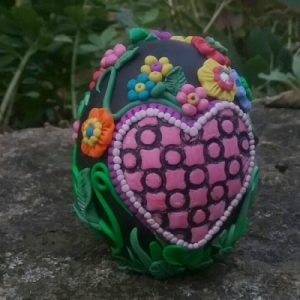
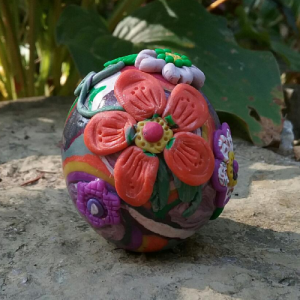
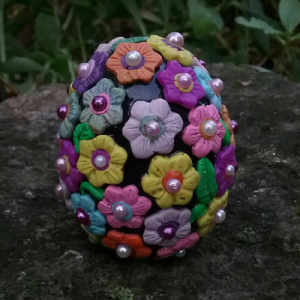
So again I set out to do a test to see if i could cover a paper egg of this size with polymer clay. I made the coating over the paper egg about 1/8 thick, maybe a little thicker, and rolled it smooth and then textured it.  The polymer clay in this case was all “left over” and you can see the flower petals it in from previous Memory-beads.com projects (see the yellow clay and pink spirals), so it is not what one would consider anything more than an experiment.  But sadly, it also cracked (vertically) in one area of black and white clay, maybe a split an inch long and sixteenth of an inch wide (barely visible) and another smaller split along the bottom.  I used left over polymer clay from the same areas to “fill” the splits (doming it up over the to of the cracks and also pressing it into the cracks (not an easy task) and cured it again for just a half an hour.  The result seems stable and I was able to sand the polymer clay smooth against the rest of the egg so the split is almost invisible…. but I likely wont experiment more using these brown paper molds.  The split didnt occur because i forgot to put a pin hole for air expansion in…. i did remember, but something in cooling and shrinking just didnt work well together.

Mosaic eggs with fingernail polish

This was an experiment in mosaic and color and utilizing those left over bottles of nail polish (i dont use nail polish but my daughter does/did and these have been on the shelf for about 20 years). It was an opportunity to get great color, lots of gloss, glitter and do mosaic at the same time.
I just washed out the egg shells from breakfast, peeled off the inner membrane and let them dry. After that I painted the rounded side with various shades of nail polish. I broke the pieces of painted egg shell into the sizes that I was willing to work with, and glued them with slightly diluted white glue on to a whole shell (this one was a brown egg, contents blown out — and scrambled for breakfast as well).

The white border on this egg was glossed with clear polish with glitter on a white egg shell, but other colors were painted over brown eggs. This is just a matter of choice, and how dense you want the color.

After the glue dried, I glossed the egg twice with varathane. In looking at it, i felt it needed some kind of dimensional border between the white band and the flower area, so i made a thin rope of black polymer clay and placed it on the border between those areas, then cured polymer clay on the egg for about a half hour at 265 F. In an ideal world one would have roughened up the border with a little sand paper, and applied the polymer clay BEFORE glossing to make sure it would stick. I will see how long my black rim stays attached.
nail polish mosaic decorated egg

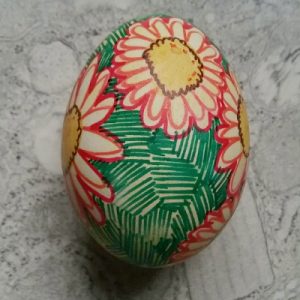
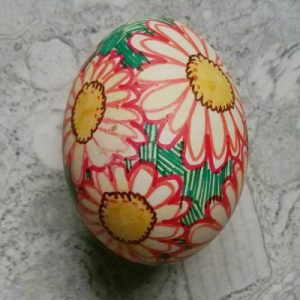
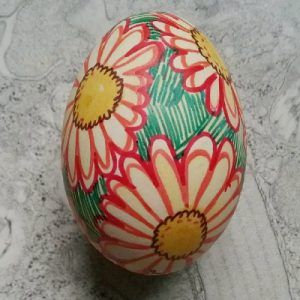
Mixed media painted egg

I just found some old fingernail polish in the closet (left there by my daughter some 15 years ago) and decided to test to see if it still worked. What better place than an empty egg shell, and to mix it up with markers and other inks and glitter.

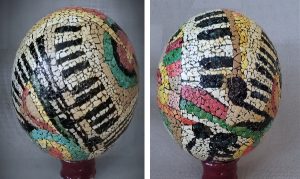
Ostrich egg mosaic using dyed chicken egg shells

This was actually an ostrich egg that was left over from a dozen that I purchased 20 or 30 years ago. I began repurposing the egg about three years ago, thinking that the original design could be made into a mosaic design. I used chicken egg shells, cracked and emptied (for breakfast, ha ha) and washed and dyed in pysanky dyes just slightly crunched into small shapes and applied them with weldbond glue.  I have put a couple of layers of varathane on this egg, i am hoping to put many more on, sanding lightly between, to achieve a smooth finish (as the egg shells are NOT smooth obviously, ha ha). I didnt “grout” the spaces between the egg shells since there was already color on the egg which showed between the tesserae.

I will post a finished egg… I have no clue if the layers of varathane will ever create a smooth surface.  I am going to use a random sampling to estimate the number of pieces… ha ha. So i cut out of paper a frame of one sq inch, and held it over 8 different places on the egg and determined the mean number of pieces per sq inch was right near 60. I went online and googled “surface area of an oblate ovoid” and found two websites with a free online calculator. I put in the three measurements (3″ 3″ and 2.5″) for the ostrich egg and it came up with 89 sq inches, which ends up being just over 5300 pieces of egg shell glued to this ostrich egg.  ha ha

More burr oak caps for polymer clay eggs

These burr oak caps make the cutest birds nests for eggs of all kinds. Some burr oak acorns seem to open and drop out the nut easily, others remain tightly close until squirrel or car tires open them up.  I did not find a species difference online but i bet there is one.

I collected some acorn caps, washed them in soap and water and dried (sterilizing?) them in an oven at 260.  The little bushy stuff tends to break off so i coated these with aquathane (about two coats).

Inside this particular burr oak acorn cap is a polymer clay egg, made with a left over cane that has “pine needles” ground and kneaded into the clay, from my late cousins property in northern california. Egg was built over one of the tiny eggs left over from when the kids and I played with clay.

one inch polymer clay made with a cane containing flower petals placed in a burr oak acorn cap


Large paper egg with polymer clay overlay: redo

So I posted before this small disaster, LOL, coming to grips with failures and experimental mistakes is somewhat frustrating. I cut apart that egg which wasn’t working out well, (you can see the paper inside had gotten misshapen from all the sanding with wet sandpaper I had done) and I cleaned it out, soaking off, and sanding off, the remains of the paper (it was a combination of chines news and news in english LOL).  The inside was kind of cool, and I am determined to figure out something to make this fun and interesting.

For starters I need to bolster the rather flexible polymer clay egg itself, which I suppose I should do with liquid polymer clay in a fine coat first, on the inside.  If it stabilizes enough I can sand the outside more.  I did think a little dragon (multicolored) coming out of this large egg would be fun….  i have never created a structure that would be as big as a dragon would need to be to be in proportion to this rather large (5 inch) egg.  The other option, much quicker and maybe just as cute, would be to buy a little stuffed dragon toy…  thinking.